Top 10 landscape photography tips for beginners
by Tania McCrea Steele · 2023-08-20

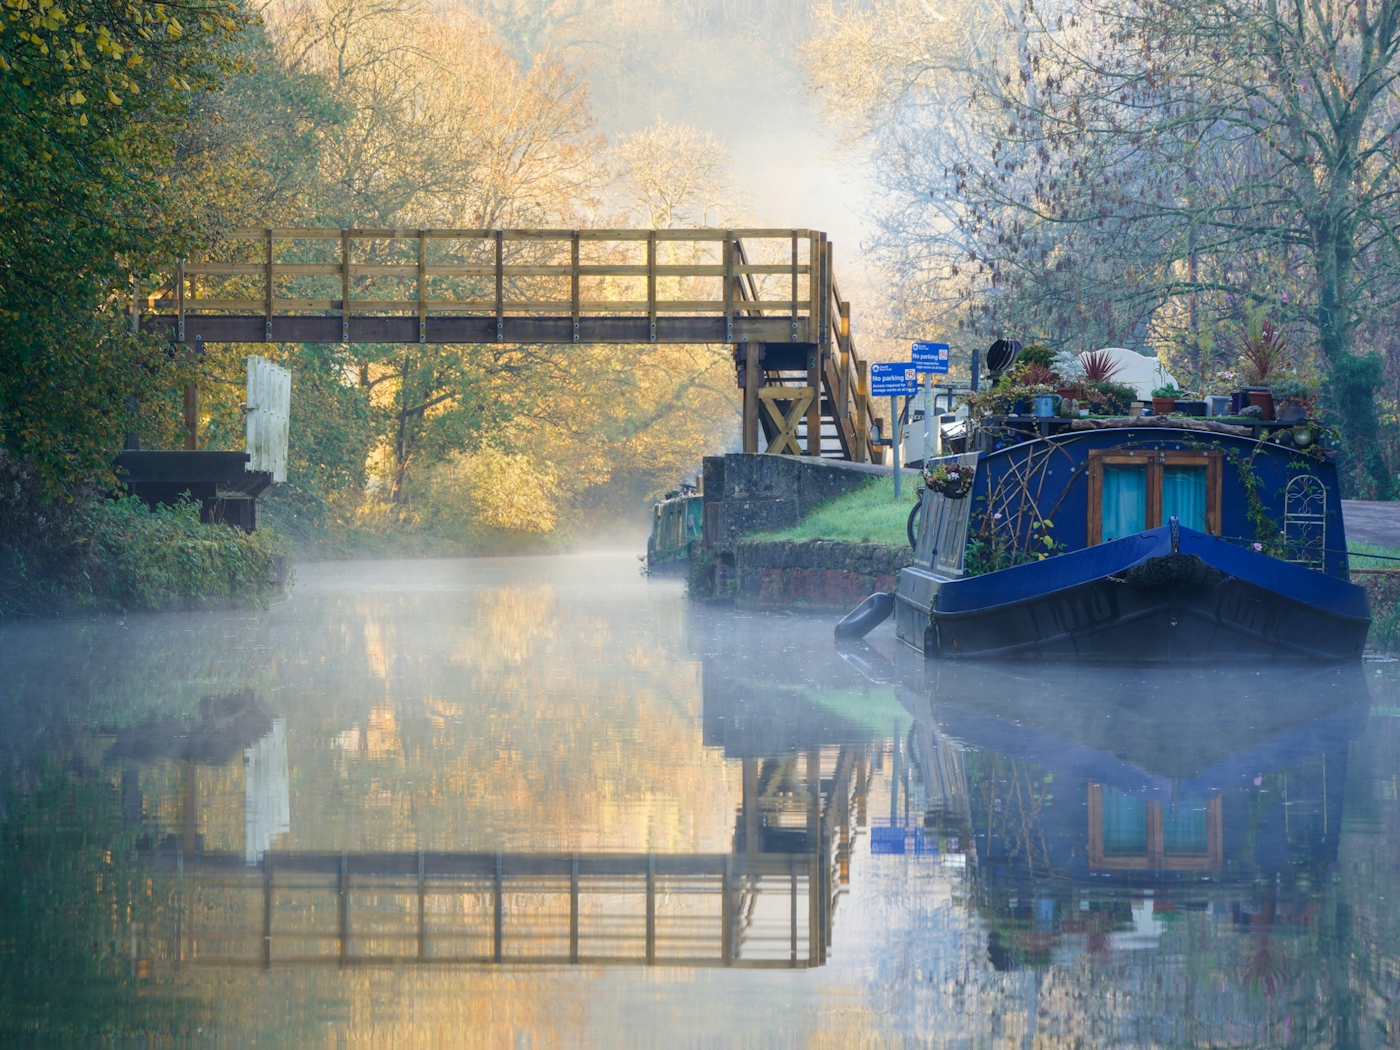
This autumnal shot illustrates how you can combine composition, light, colour and conditions to pleasing effect.
Autumn (or fall in the US) is just around the corner and with that comes an abundance of rustic colours, golden tones, mist and easier access to dramatic light as the days start to shorten. This season is a landscape photographers dream. Now is the time to hone your skills with your camera so you can shoot perfect pictures come late October and early November.
A handful of friends have asked me for landscape photography tips. Here is what I wish I had known when I picked up my first camera:
1. The X-Factor
To create a striking landscape photograph you want to bring together a subject, a balanced composition, interesting light or conditions, and striking colour combinations. Remember a beautiful scene does not necessarily make a stunning photograph. Below are tips that will help you distinguish between a pleasing landscape and one that has photographic potential.
2. Composition
Compositions can make or break an image. Start by finding your subject (such as a mountain, a tree, a building, a boat, a bridge, etc). Keep the image simple. Less is more. Think about how to frame your composition, considering leading lines, balance, and negative space. Avoid ‘dead space’ and patrol the perimeter of your frame removing distractions. There are composition ‘rules’, such as ‘the rule of thirds’ where you frame your subject a third of the way into your image. These ‘rules’ should really only be ‘guidelines’. Do not be wedded to them. Listen to your instinct.

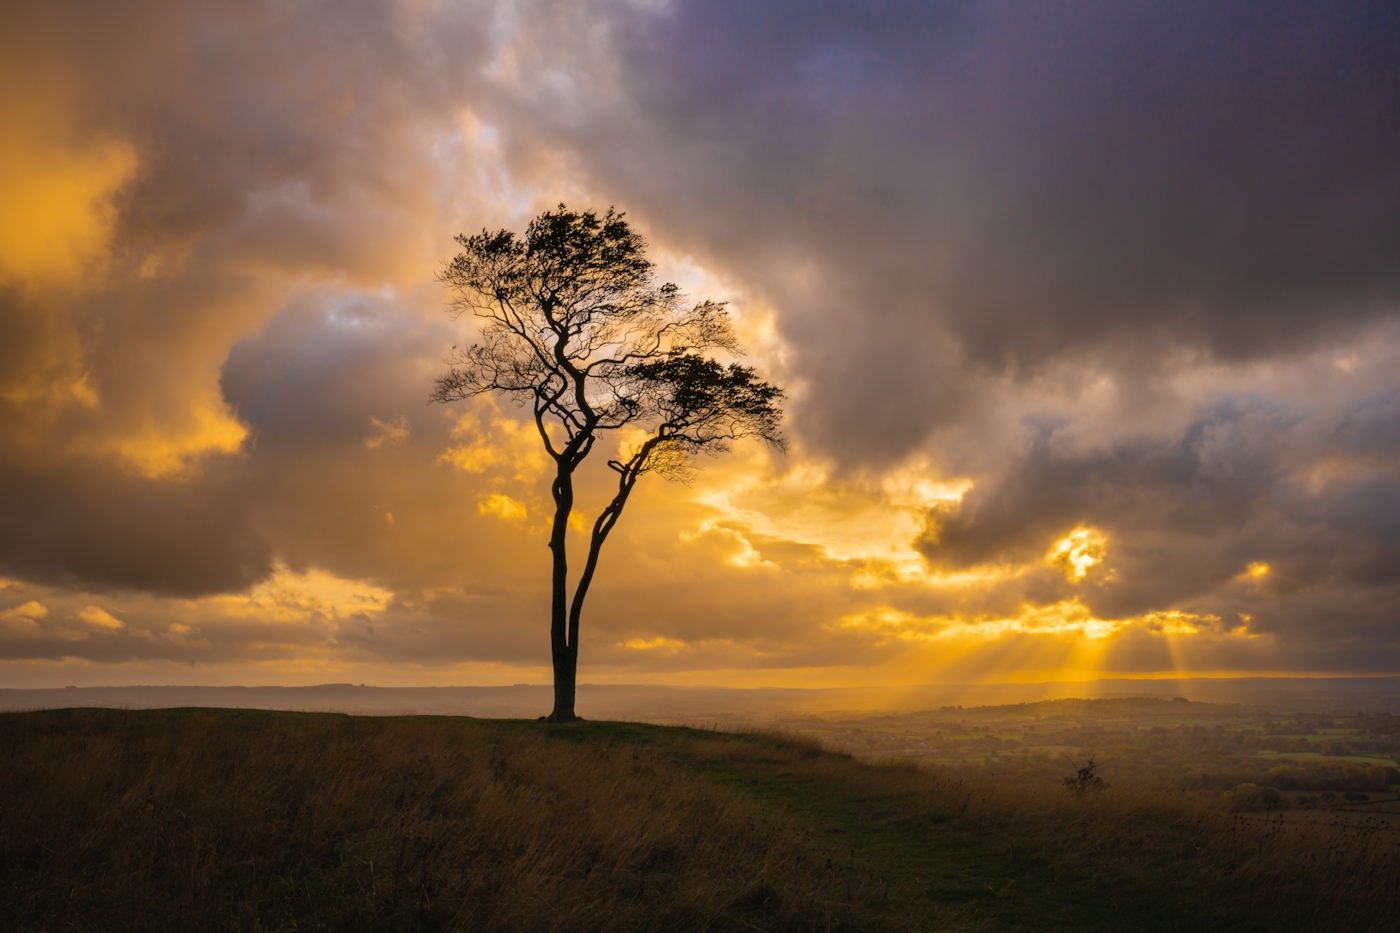
This stormy autumnal photo shows how a singular subject combined with split-complementary colours of orange and purple, and dramatic conditions, can come together to create a dynamic scene.
3. Lighting & conditions
Study the weather conditions and return to your location during blue or golden hour, at sunrise or sunset or during a storm. Shoot when there are incredible conditions like mist, fog (especially freezing fog), frost, snow or stormy skies. Think about how the scene will be lit - will there be side, front or backlight? Choose landscapes that suit the conditions like reflections on a calm day, seascapes on a windy one or a woodland during thick fog.
4. Colour theory
Think about the combination of colours in the scene. Look at a colour wheel. ‘Analogous colours’ are where the pallet is similar, such as different shades of blue and green. This can feel very soothing. ‘Complementary colours’ are where the colours are opposites on the colour wheel, such as purple and green. Complementary colours can create contrast and make subjects stand out, as long as they are the opposite colour of the surrounding scenery. ‘Split- complementary’ or ‘compound harmony’ are where the colours are on either side of your complimentary colour, such as blue and yellow. ‘Monochromatic colour’ is where the image is in different tones of the same colour. This can focus your attention on the tonal contrasts. All these colour combinations can be pleasing to the eye.
5. Focal lengths
Focal lengths for landscape fall into three categories, namely wide, standard or telephoto. Wide angle lenses will include all you can see with the foreground enlarged and the background shrunk. A standard focal length does not distort the scene, making it look the way our eyes see it. A telephoto lens will shoot subjects that are further away from you and will compress the image so that the object furthest away will seem larger in the scene. Most landscapers will use zoom lenses as that enables you to shoot at a variety of focal lengths. Prime lenses, which are lenses that have a fixed focal length, tend to produce sharper images and are more expensive.

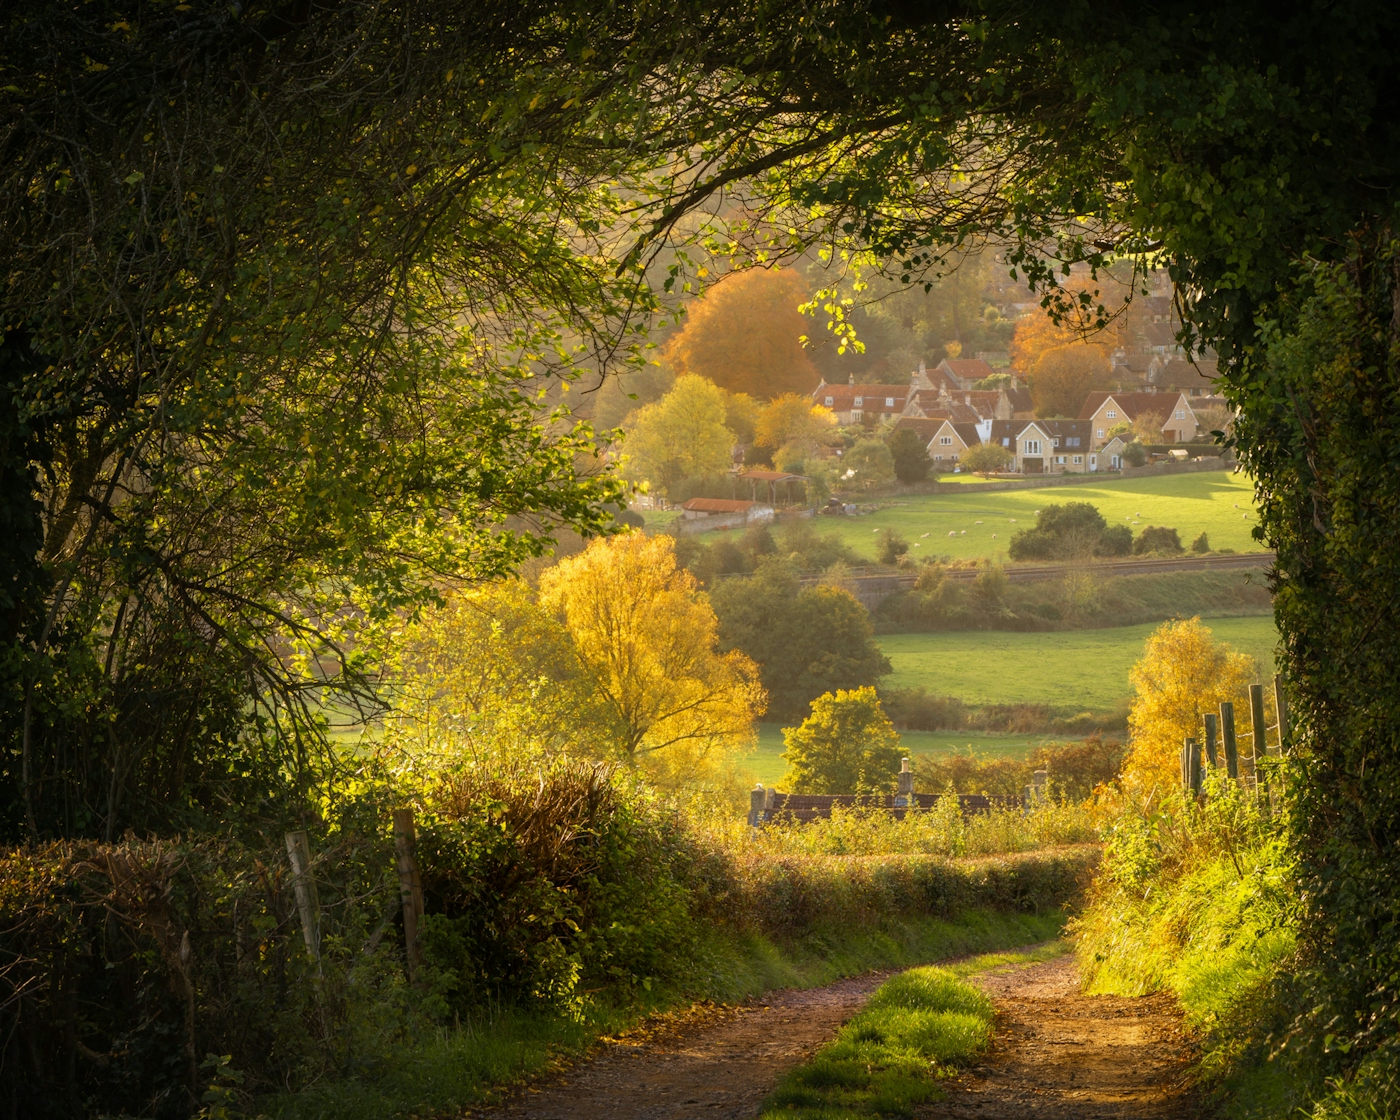
This autumnal tunnel demonstrates the benefit of a telephoto lens with the background scene enlarged as a result of its use.
6. Focus
There are complicated ways to work out where to focus in a scene but an easy rule for beginners is to focus one third of the way into an image.
7. Settings
The skill of photography is finding the right balance between aperture (the amount of light you allow into the lens), shutter speed (how quickly the shot is taken) and ISO (the sensitivity of the cameras sensor). The aperture controls how much of your image is in focus. With landscape photography you generally want the entire scene in focus, but there are exceptions. The shutter speed controls whether an object is frozen in action or blurred in motion. Longer shutter speeds are used in landscape photography when shooting natural elements that move, such as water or clouds, to create a silky effect. ISO controls how much ‘noise’ there is in an image. This appears as very small dots in a frame. A lower ISO will reduce the ‘noise’ in an image. When you are starting out in landscapes photography you could begin with the following settings: aperture f16, ISO 100 and auto shutter speed. Make sure you set your white balance to the right weather conditions. If you want to shoot long exposures you will need to invest in some filters that go in front of your lens.
8. Image porcessing
RAW images (as opposed to JPEG) retain more information so professional photographers will tend to shoot their photos in RAW. This provides more, high quality options when editing pictures. Once you are back at your desk, import these images into Lightroom (which is Adobe image editing software) where you have many tools to edit your photograph. These include the ability to change the dimensions of your image, increase or decrease the exposure, alter the colours, and sharpen or soften your images. It’s important to use the masking feature to select specific components of your image and edit these individually.
9. Gear
Choosing your camera with so many options on the market can be overwhelming. You will want to consider the size of the sensor, the weight of the equipment and your budget. Mirrorless cameras are lighter than DSLRs. Sensor sizes come in full frame, crop sensor (APS-C) and micro 4/3. Full frame cameras are larger, heavier and more expensive but they let in more light. Look at the lens options before buying a camera body. Lenses are a bigger investment than the camera body itself. The big three brands are Nikon, Canon and Sony, although there are many more if you want to invest lots of time researching them. I would recommend watching comparison reviews on YouTube before making a purchase.
10. Applications
You will want to learn how to predict conditions before choosing when and where to shoot. Apps are very useful, if imperfect, tools to help you estimate conditions. Clear Outside is useful for predicting weather conditions. It gives you more information than a weather app including a breakdown on the cloud levels (ideally you want high cloud at sunrise and sunset) and the dew point (which indicates the likelihood of mist). PhotoPills is helpful for planning the location of the sun or moon at any given location as well as giving you a daily breakdown of light over time (such as when it will be blue or golden hour, sunrise or sunset, etc).
Now it is time for you to hunt down potential locations and chase the light. Have fun!